
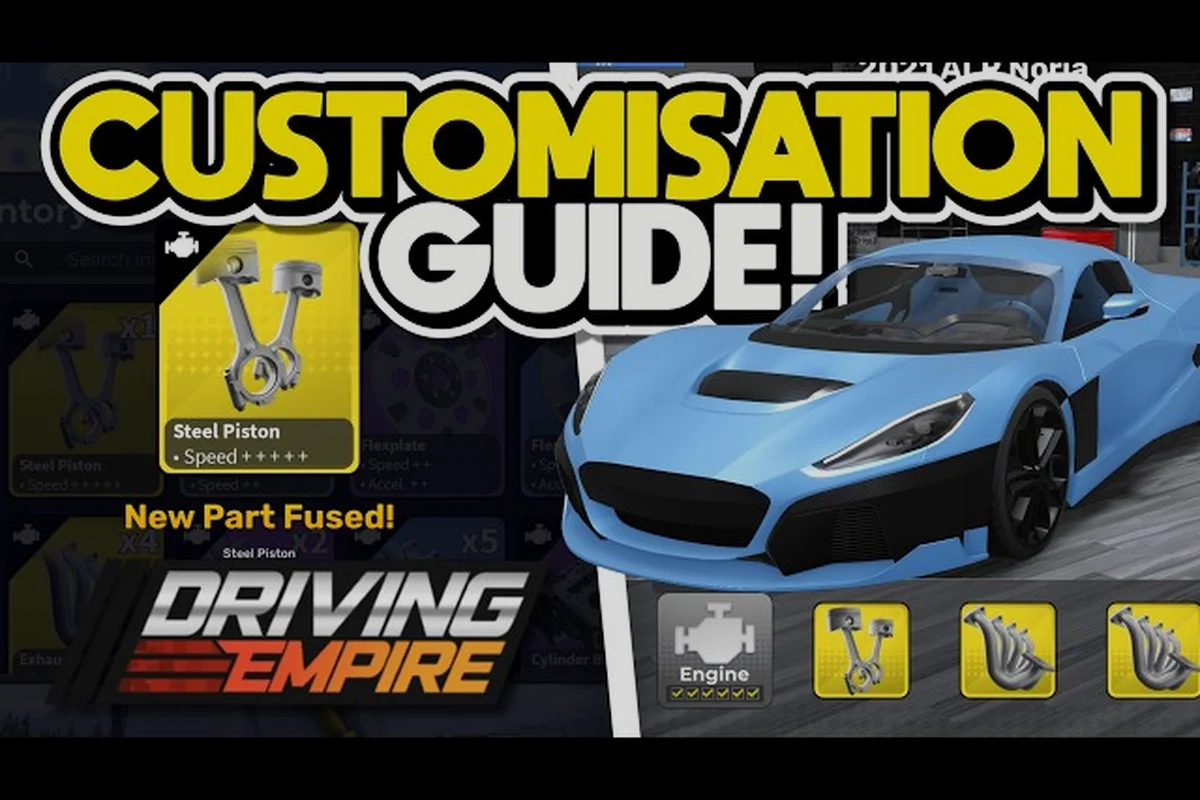
Tuning separates a stock car from a record-setter in Driving Empire, and the 200+ licensed vehicles from brands like Lamborghini, Porsche, Ferrari, Nissan, and Chevrolet each respond differently to ECU maps, gear ratios, and tire compounds. Whether you are chasing a clean quarter-mile on the drag strip or shaving tenths off a street circuit lap, this Driving Empire tuning guide breaks down every system that actually moves the needle. Voldex built four distinct race modes — drag, street circuit, ATV off-road, and the newer boating mode — and each one rewards a different setup philosophy, so the same tune rarely wins across the board.
Core Tuning Systems Every Driver Should Know
Before touching any slider, you need to understand the building blocks of a Driving Empire tune. The game exposes a layered set of upgrades that go far beyond the basic "buy parts" loop, and each layer has a specific role in how power reaches the asphalt. The official Driving Empire page on Roblox confirms that vehicles span drag racing, street circuit, ATV off-road, and boating, and each mode punishes a poorly matched setup.
The Five-Layer Upgrade Model
Every car in Driving Empire rolls off the lot with stock internals, and progression funnels you through five overlapping upgrade layers — Engine Internals, ECU Map, Gearbox, Tires & Compounds, and Suspension — that must be tuned in roughly that order because each layer's output defines the next layer's input window. The following table summarizes what each layer controls, its typical cost tier, and where it sits in the overall build order so you can plan part purchases around your chosen race mode rather than buying reactively.
| Layer | What It Controls | Typical Cost Tier | Best For |
|---|---|---|---|
| Engine Internals | Block, pistons, intake, exhaust | Mid-to-high | All modes; biggest HP jump |
| ECU Map | Fuel curve, ignition timing, rev limit | Low-to-mid | Fine-tuning power delivery |
| Gearbox / Gears | Final drive and individual ratios | Mid | Drag vs. circuit optimization |
| Tires & Compounds | Grip level, temperature window | Low | Traction-limited corners |
| Suspension | Ride height, stiffness, anti-roll | Mid | Cornering balance and stability |
Players who skip straight to engines without addressing the gearbox or tires will find their horsepower wasted in wheelspin or a dead rev band. According to community data shared by veteran tuners, a balanced build at 70-80% of the maximum part tier usually outperforms an all-in maxed engine on a stock chassis.
Why Mode-Specific Setups Matter
Drag racing demands a hard, short powerband that puts the car in its torque sweet spot off the line. Street circuits want a wider spread so you can stay on the throttle through medium-speed sweepers. ATV off-road trades outright grip for compliance over ruts and jumps, while boating mode focuses on weight distribution and propeller bite. The tuning system hands you the tools to chase each outcome, but the slider values are not interchangeable.
Engine Upgrades and ECU Tuning
The engine is the loudest upgrade layer, but ECU tuning is where the real Driving Empire performance gains come from. The ECU map dictates how that hardware actually delivers power, and a smart map on a modest block will frequently beat a stock map on a fully built motor.
Driving Empire Engine Upgrade Guide
The engine upgrade tree in Driving Empire branches into the block, forced induction, and supporting bolt-ons. Most players follow a staged path rather than buying the most expensive part first, because each tier unlocks new ECU map options that compound the gains. A typical progression path looks like this:
-
Stage 1 — Intake and exhaust bolt-ons for a small but cheap bump.
-
Stage 2 — Forced induction (turbo or supercharger) for a major horsepower jump.
-
Stage 3 — Internal engine rebuild for high-rev reliability.
-
Stage 4 — Driveline reinforcement to handle the new torque.
Following the stages in order lets the ECU adjust cleanly, because each map has headroom for the new airflow and ignition timing window. Skipping straight to Stage 3 on a stock turbo map often leaves power trapped below the rev ceiling, since the ECU's knock threshold and fuel map still match the smaller turbo's flow characteristics and will pull timing aggressively. The proper sequence is intake and exhaust first, then forced induction, then internals, so that each ECU flash has the supporting hardware to actually exploit its revised parameters. This staged approach also keeps your gear ratio setup and tire selection balanced with the rising torque curve, instead of producing wheelspin or missed shift points from a mismatched final drive.
How ECU Maps Shape Power Delivery
The ECU map is the single most flexible tool in your tuning kit. It controls three things that determine how the car feels: where peak power lands, how sharp the throttle response is, and when the rev limiter cuts in. A drag tune usually pushes the powerband lower and sharpens response so the car snaps forward the moment you launch. A circuit tune spreads the band wider and softens the response slightly, which keeps the rear tires planted when you feed in throttle mid-corner.
| ECU Setting | Drag Value | Circuit Value | Effect on Lap Time |
|---|---|---|---|
| Powerband Peak | Low-mid RPM | Mid-high RPM | Matches shift points to track |
| Throttle Response | Aggressive | Moderate | Reduces wheelspin in corners |
| Rev Limiter | Just past peak torque | Just past peak HP | Prevents falling off the cam |
According to community testing reported by players, shifting the ECU peak power by even 500 RPM can move a quarter-mile time by 0.1-0.3 seconds. That is the same delta as a mid-tier engine upgrade, which is why the ECU is often the cheapest horsepower you can buy.
Gear Ratios, Tires, and Suspension Setup
Once the engine and ECU are sorted, the next three systems decide how efficiently that power reaches the road. Gear ratios control how the engine's RPM translates to wheel speed, tires determine how much of that torque becomes traction, and suspension keeps the platform stable so the tires can do their job.
Driving Empire Gear Ratio Setup
Gear ratios are the unsung heroes of a competitive tune. A long final drive helps top speed on long straights but kills acceleration out of slow corners, while a short final drive gives instant response but leaves you spinning at the rev limiter before the finish line. The trick is matching the ratios to the longest straight and the slowest corner on a given track.
| Track Type | Final Drive | 1st Gear | Top Gears | Why It Works |
|---|---|---|---|---|
| Quarter-Mile Drag | Short | Very short | Long | Maximizes 0-60 launch |
| Street Circuit | Medium | Medium | Slightly short | Balances corner exit and top speed |
| Highway Pull | Long | Long | Very long | Keeps engine in torque band at speed |
If you are new to the gearbox, the practical method is to start with the stock ratios, run three clean laps or passes, and shorten the gear that you keep hitting the rev limiter in. Lengthen any gear where you shift and immediately fall off the powerband. The optimum tune is the one that keeps the engine within its powerband across the entire operating range, which is something the Driving Empire tune sharing community actively trades.
Driving Empire Tire Selection Guide
Tires are where most amateur tuners give away free lap time. Driving Empire offers several compounds, each with a different grip and temperature window. The drag strip rewards a hard, low-profile tire that resists wheelspin off the line, while circuit work demands a softer compound that can hold a higher slip angle through sweepers. Off-road ATV racing uses a knobby profile designed for loose dirt, and any mistake here will cost far more time than an ECU adjustment.
The first rule is to match the tire width and profile to the horsepower on tap. Putting drag tires on a 900 HP build is asking for snap oversteer; putting racing slicks on a 250 HP commuter just kills your top speed. The second rule is to check tire temperature after every run. If the carcass is overheating, the grip falls off a cliff mid-corner and you will scrub lap time without understanding why.
Driving Empire Suspension Tuning
Suspension tuning is the connective tissue between power and grip. It does not add horsepower, but it controls how weight transfers during braking, cornering, and acceleration. The four knobs that matter most are ride height, spring stiffness, anti-roll bar stiffness, and damping.
| Suspension Setting | Drag Value | Circuit Value | Off-Road Value |
|---|---|---|---|
| Ride Height | Low, level | Low front, slight rake | High for clearance |
| Front Springs | Soft for weight transfer | Stiff for turn-in | Medium with high travel |
| Rear Springs | Stiff to prevent squat | Medium for traction | Soft to absorb landings |
| Anti-Roll Bars | Soft front | Stiff front, soft rear | Soft both ends |
According to experienced players, a circuit tune that drops the front by 5-10% relative to the rear will rotate the car more willingly into corners, while a drag tune that levels the car helps the rear tires hook under launch. Suspension is the most iterative part of any tune, so plan on running several laps between each adjustment rather than chasing a single magic number.
Building Practical Setups for Each Race Mode
Knowing what each slider does is only half the battle. The other half is knowing how to combine them into a coherent setup that suits the race you are about to run. Below are three practical recipes that work on a wide range of stock and mid-tier cars, based on patterns reported by community data and observed in shared tune codes.
Drag Strip Tune Recipe
The drag strip in Driving Empire is a pure 0-60 and quarter-mile test, which means every other consideration falls away. The goal is maximum traction off the line and a powerband that hits hard right where you shift.
-
Engine: Stage 2 forced induction minimum, with a Stage 3 block if your budget allows.
-
ECU Map: Low-rev powerband, aggressive throttle response, rev limiter just past peak torque.
-
Gears: Short final drive, very short first gear, long fourth and fifth.
-
Tires: Hard drag compound, inflated to the upper end of the recommended range.
-
Suspension: Low and level, stiff rear springs, soft front anti-roll bar.
A setup along these lines typically produces the cleanest 60-foot times, which is the single biggest predictor of quarter-mile ET. If you are still hunting parts for your build, the Driving Empire how to unlock vehicles guide covers the fastest progression routes so you can save toward the cars that actually benefit from this kind of aggressive setup.
Street Circuit Tune Recipe
Street circuits mix tight hairpins with medium-speed sweepers and the occasional long back straight, so the tune has to compromise between rotation and stability. A balanced street tune keeps the engine in the meat of its powerband through second and third gear while preserving grip on corner exit.
-
Engine: Mid-tier forced induction with a Stage 2 or 3 internal rebuild.
-
ECU Map: Mid-to-high RPM powerband, moderate throttle response, rev limiter just past peak horsepower.
-
Gears: Medium final drive, medium first gear, slightly shortened top gears.
-
Tires: Soft racing compound, standard inflation.
-
Suspension: Lowered front with a small rake, stiff front springs, medium rear anti-roll bar.
If the car is still understeering into tight corners, soften the rear anti-roll bar one click at a time. If it is oversteering on corner exit, stiffen it back up. The brake upgrade and dyno tuning guide pairs well with this recipe, because stopping power is just as important as cornering grip on a street layout.
ATV Off-Road and Boating Recipes
Off-road ATV racing in Driving Empire plays by completely different rules than tarmac circuits, and the tuning recipe reflects that. Because the track surface shifts constantly between packed dirt, loose gravel, and ruts, the build prioritizes suspension travel and tire compliance over outright power, letting the chassis stay planted while competitors break traction every time the surface changes. A stock 4-cylinder ATV with a raised ride height and softened spring rates will typically out-lap a maxed-out V8 build whose stiff setup bottoms out the moment it hits a jump face, which is why the off-road meta rewards chassis balance over ECU tuning.
-
Engine: Reliable mid-tier build, no need for max horsepower.
-
Tires: Knobby off-road compound, slightly deflated for a larger contact patch.
-
Suspension: Raised ride height, soft springs, high damping, soft anti-roll bars.
The newer boating mode, introduced in the March 2026 Big Splash update with Brunswick Corporation, swaps wheels for propellers and rewards weight distribution over raw power. According to community reports, the lighter the bow and the further back you shift the weight, the cleaner the hole shot. The tuning principles for boats are similar to drag racing — short first gear, aggressive throttle response — but the slip angle math is entirely different because the grip is hydrodynamic rather than mechanical.
Frequently Asked Questions
What is the most important part of a Driving Empire tune?
The ECU map is the most important part of a Driving Empire tune because it controls where the engine makes power, how sharp the throttle response feels, and where the rev limiter cuts in. A well-mapped ECU on a mid-tier engine will usually beat a poorly mapped ECU on a fully built motor, and the map is also the cheapest part of the build to swap when you switch between drag and circuit setups.
How do I tune a car specifically for the quarter-mile in Driving Empire?
For a quarter-mile tune in Driving Empire, shorten the final drive, set a low-RPM ECU powerband, run the rev limiter just past peak torque, and use hard drag tires inflated to the upper end of the recommended range. Drop the suspension to a level stance with stiff rear springs so the rear tires hook under launch. This combination is the standard drag setup reported by competitive players and will give you the cleanest 60-foot time.
Can I use the same tune for drag and street circuit races?
You can use a similar tune for drag and street circuit, but you should not use the exact same one. Drag tunes favor a low-RPM powerband, short gearing, and hard tires, while circuit tunes need a wider powerband, medium gearing, and softer tires for cornering grip. A balanced compromise tune will work for both but will be slower than a mode-specific setup, so most serious drivers keep two saved tunes per car.
What is the best tire compound for circuit racing in Driving Empire?
The soft racing compound is the best tire compound for circuit racing in Driving Empire because it holds a higher slip angle through sweepers and resists overheating over a full lap. Hard drag tires overheat quickly on a circuit layout and lose grip mid-corner, while the soft compound still has enough carcass strength to survive a hot lap without blistering.
How does suspension tuning affect lap times in Driving Empire?
Suspension tuning affects lap times in Driving Empire by controlling weight transfer during braking, cornering, and acceleration. Lowering the front relative to the rear improves turn-in response, while a stiffer rear anti-roll bar reduces oversteer on corner exit. Suspension changes rarely move lap times by more than a few tenths on their own, but combined with the right ECU map and gear ratios they can easily shave a full second off a clean lap.